Create, Edit & Delete Clusters
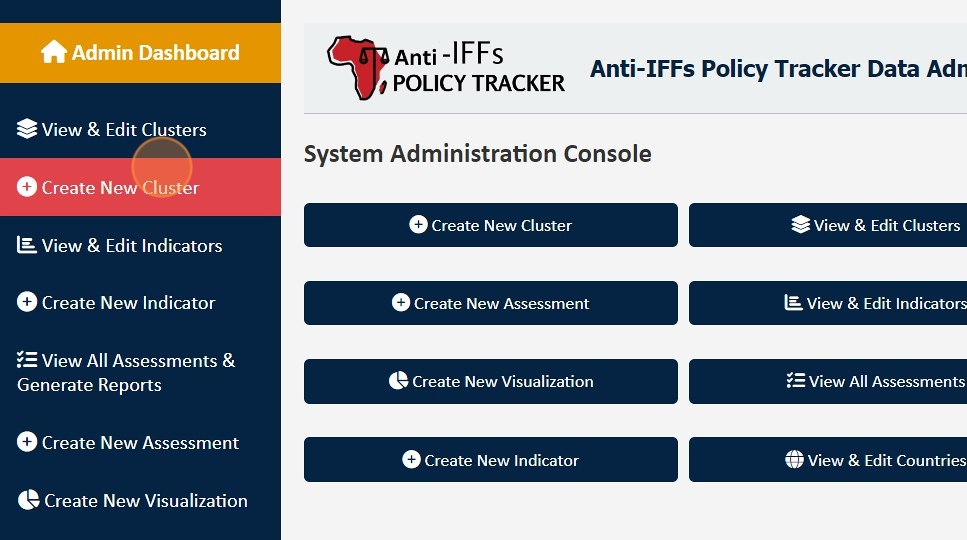
1. To create a new Cluster, click "Create New Cluster" from the Dashboard Menu
2. Please fill in the fields:
- Cluster ID: (Enter the unique identifier for the cluster)
- Cluster Name: (Enter the name of the cluster)
- Cluster Description: (Provide a brief description of the cluster's purpose or characteristics)
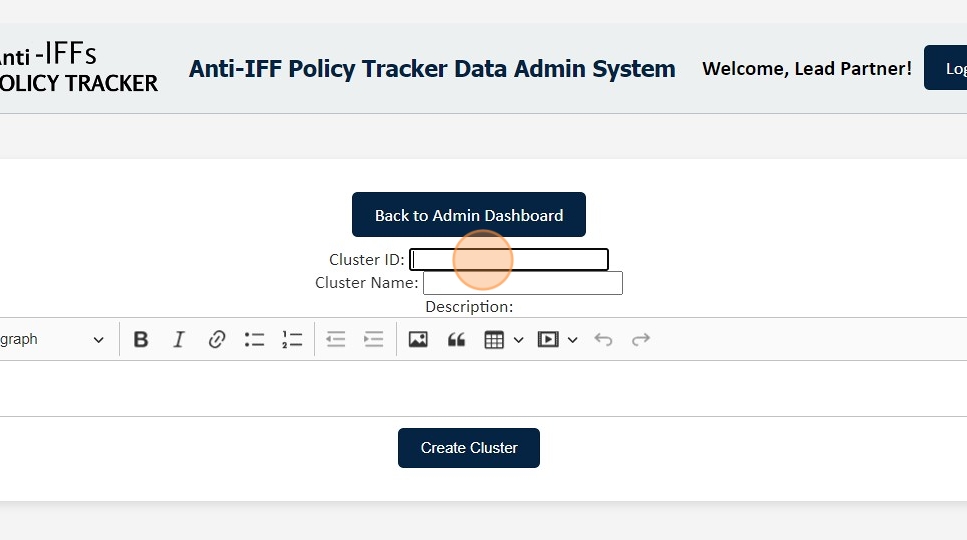
3. Once you've filled in the required fields (Cluster ID, Cluster Name, and Cluster Description), click 'Create Cluster' to save the new cluster.

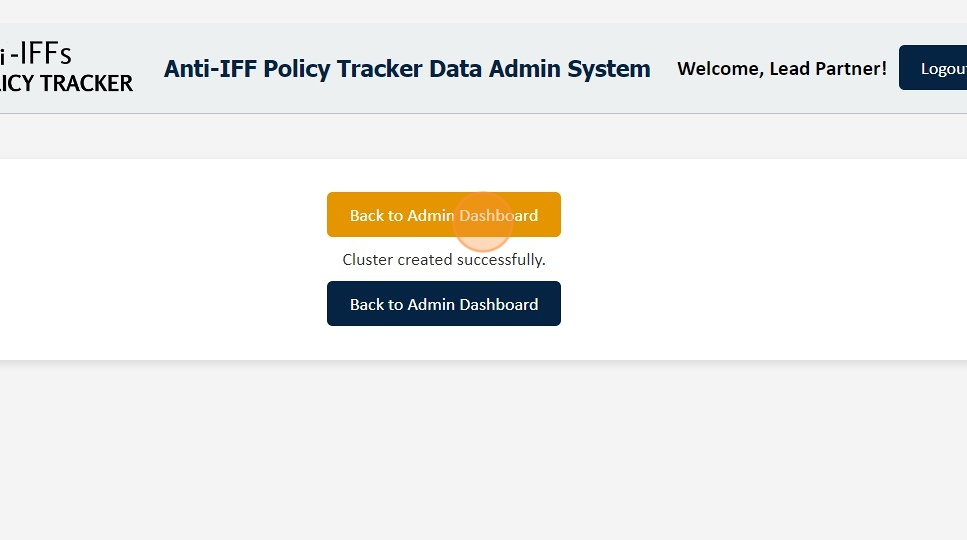
4. Click "Back to Admin Dashboard"
5. Click "View & Edit Clusters"
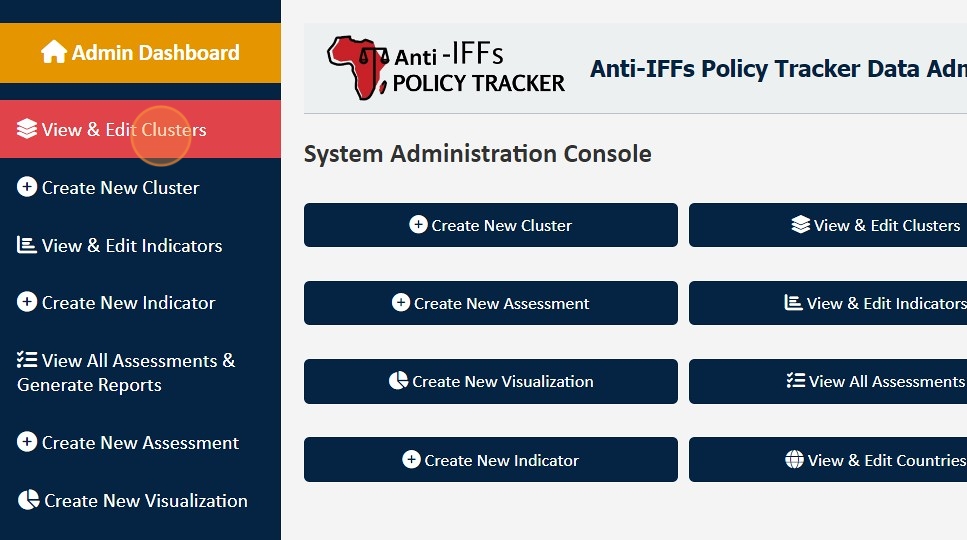
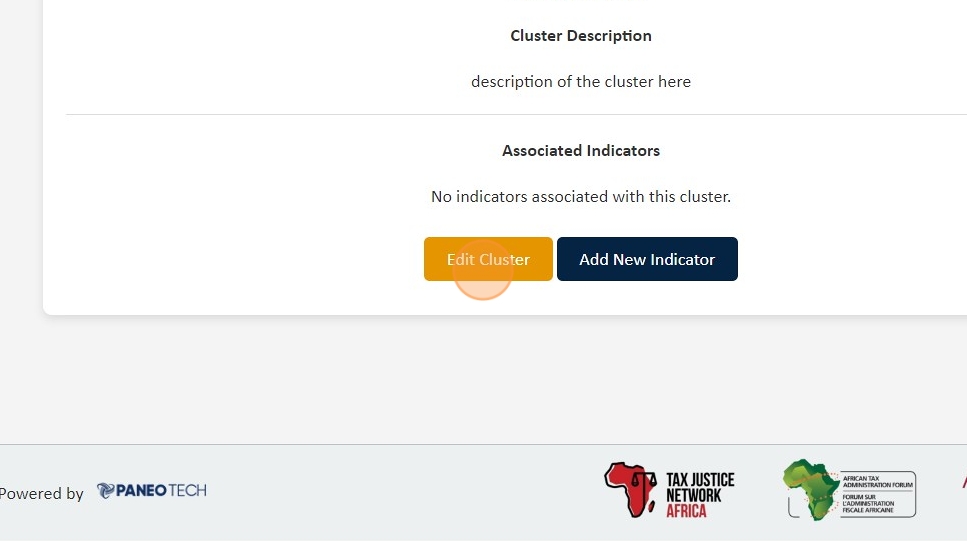
6. Scroll to the cluster you want to view, then click 'View' to display the cluster details and information.
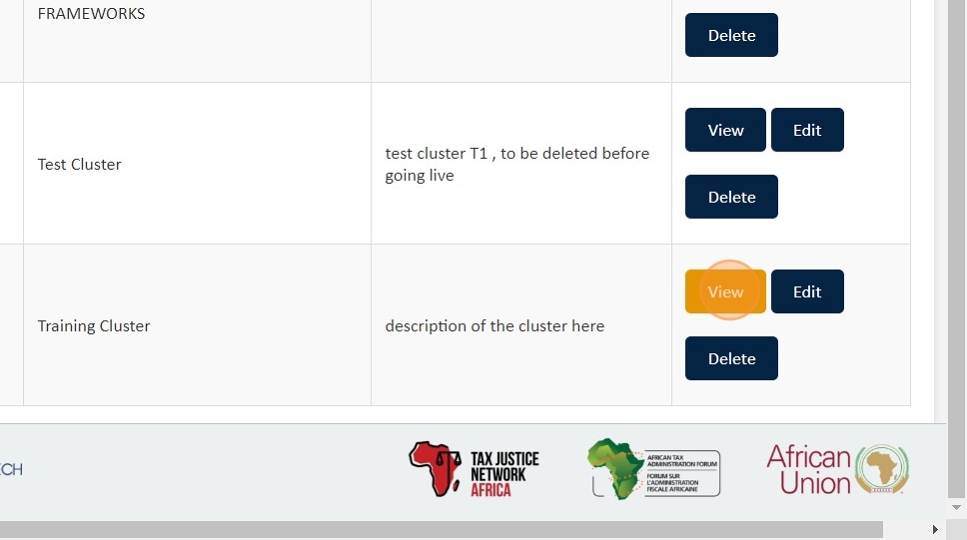
7. To edit the cluster, click 'Edit Cluster.'
8. Input the necessary edits

9. After making the necessary changes, click 'Update Cluster' to save your edits.

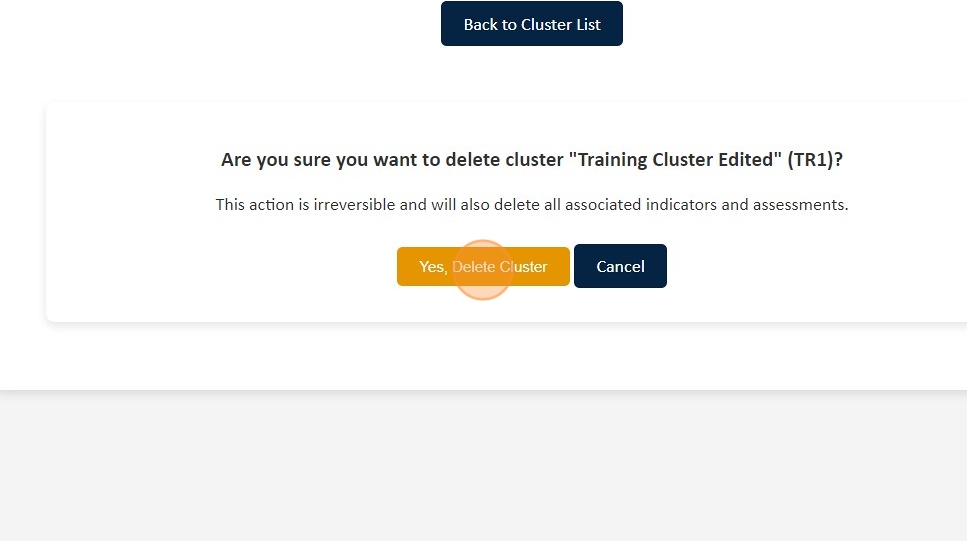
10. To delete a cluster, scroll back to the cluster you want to remove from the 'View & Edit Clusters' menu and click on Delete.

11. Click "Yes, Delete Cluster" to confirm.
Create, Edit & Delete Indicators
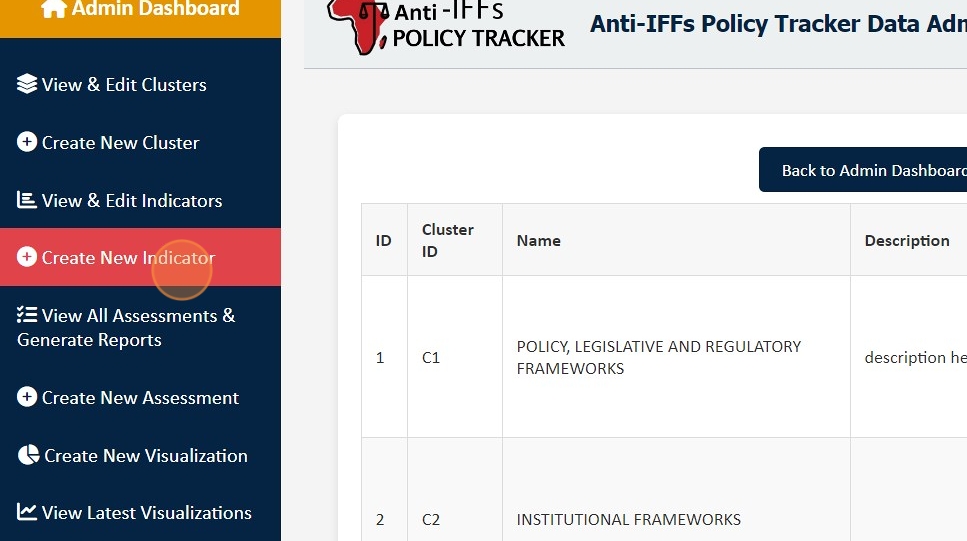
12. To create a new indicator, click 'Create New Indicator' from the menu.
13. Fill in the details of the indicator, including:
- Indicator Number: (Enter the unique identifier for the indicator)
- Indicator Name: (Enter the name of the indicator)
- Description: (Provide a brief description of what the indicator represents)
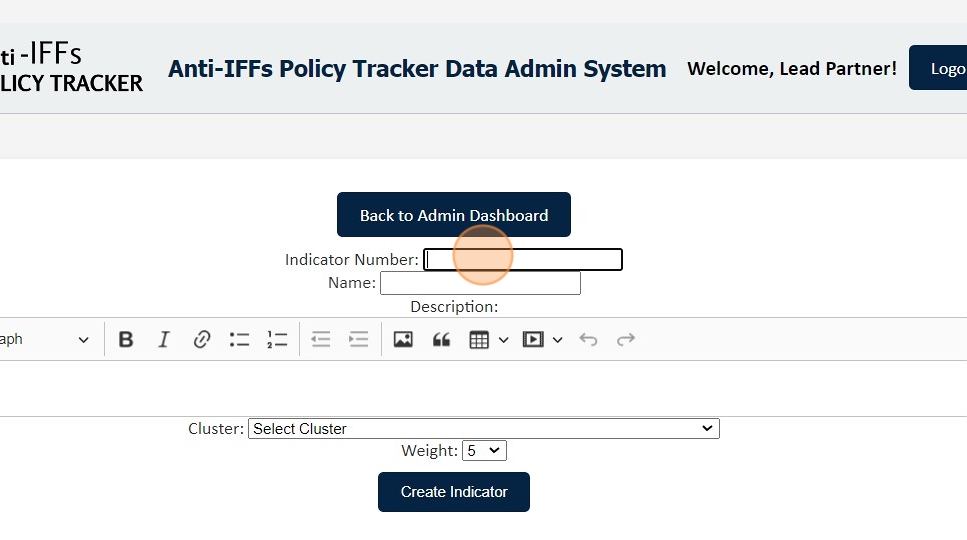
14. Select the cluster associated with the indicator, then choose the indicator's weight.

15. After entering all the details, click 'Create Indicator' to save the new indicator.

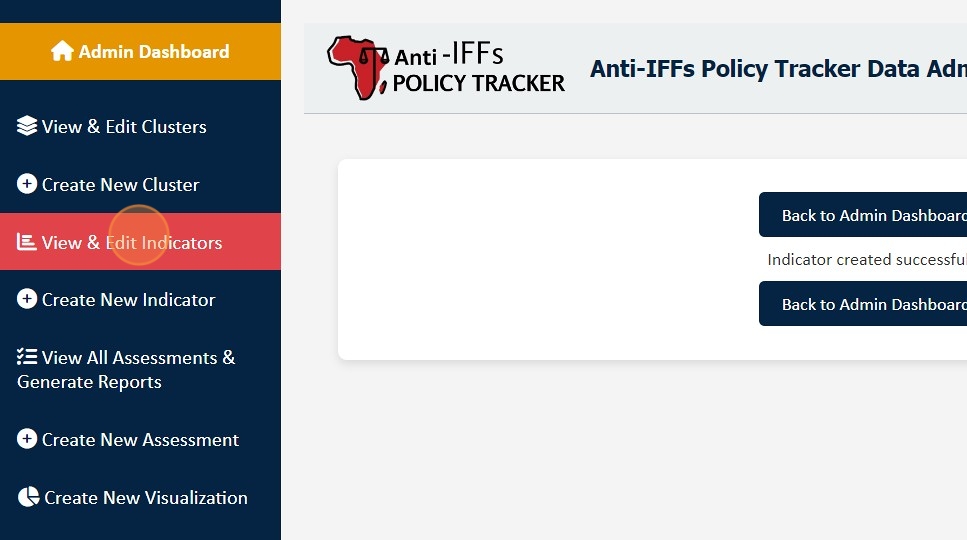
16. To view an indicator, click ''View & Edit Indicators'' from the Menu.
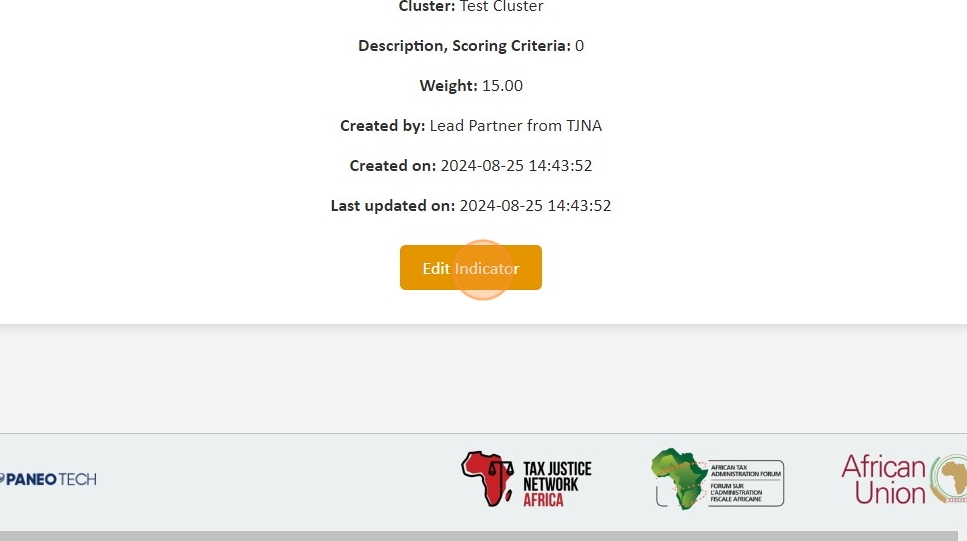
17. Scroll to the indicator you want to view, then click 'View' to display the indicator details.
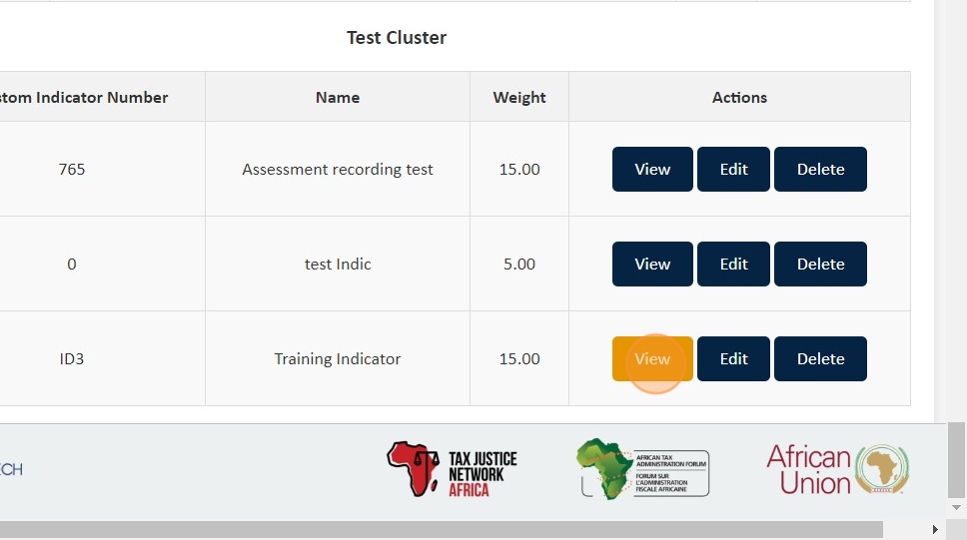
18. To edit an indicator, you can either click 'Edit Indicator' from the View Indicator page or click 'Edit' from the 'View & Edit Indicators' page.
19. Then, enter the necessary edits.
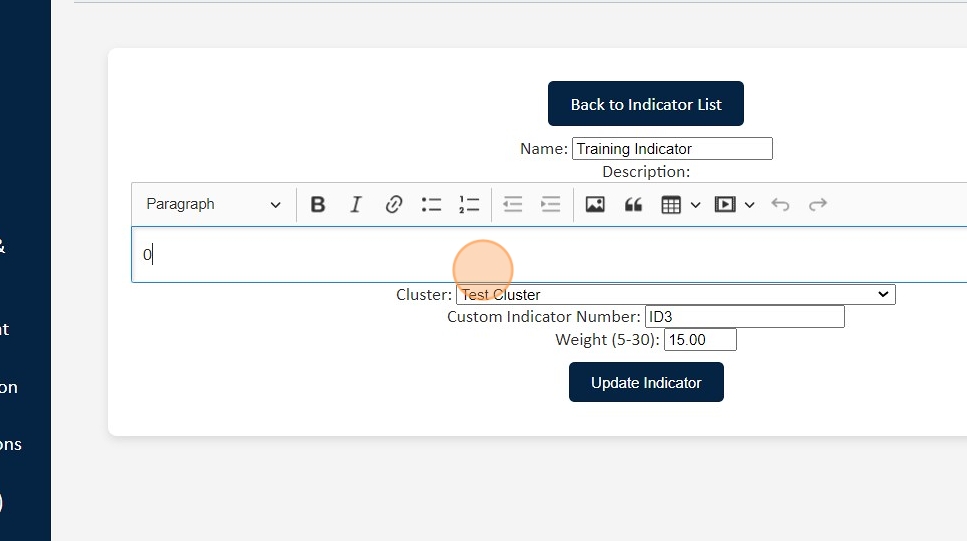
20. After making the necessary changes, click 'Update Indicator' to validate and save the edits.

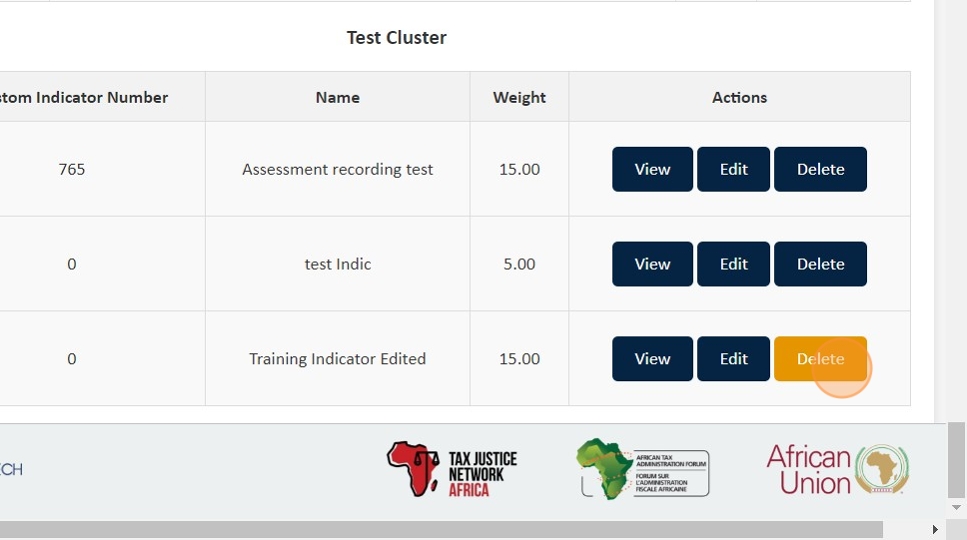
21. To delete an indicator, go back to the 'View & Edit Indicators' menu, scroll to the indicator you want to delete, and click 'Delete Indicator.'
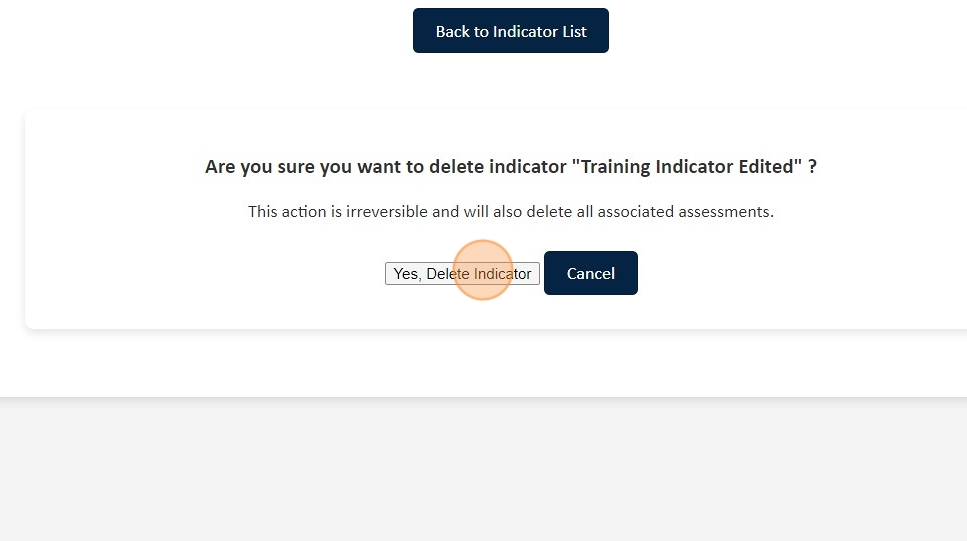
22. To confirm the deletion, click 'Yes, Delete Indicator.'
Create, Edit & Delete Countries
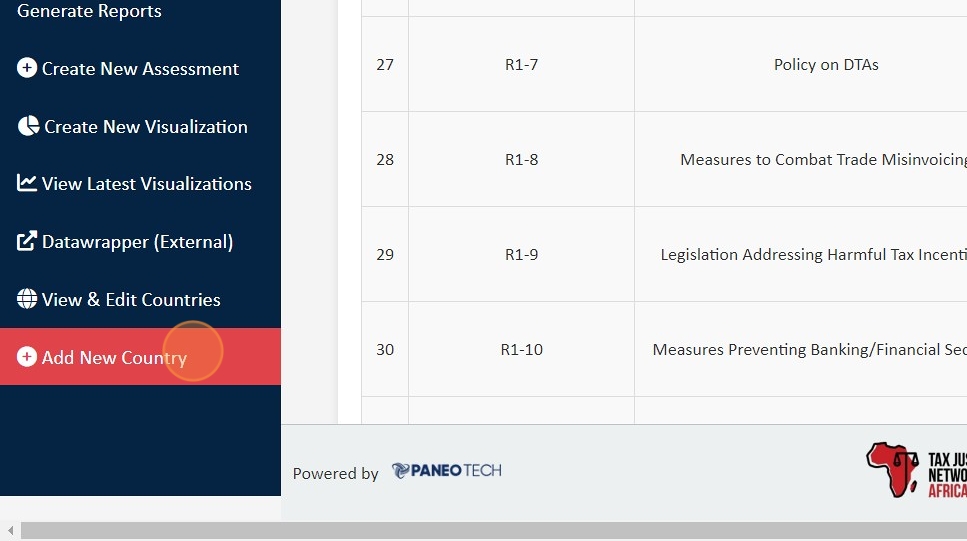
23. To add a new Country, click 'Add New Country' from the menu.
24. Enter the country name and ISO code
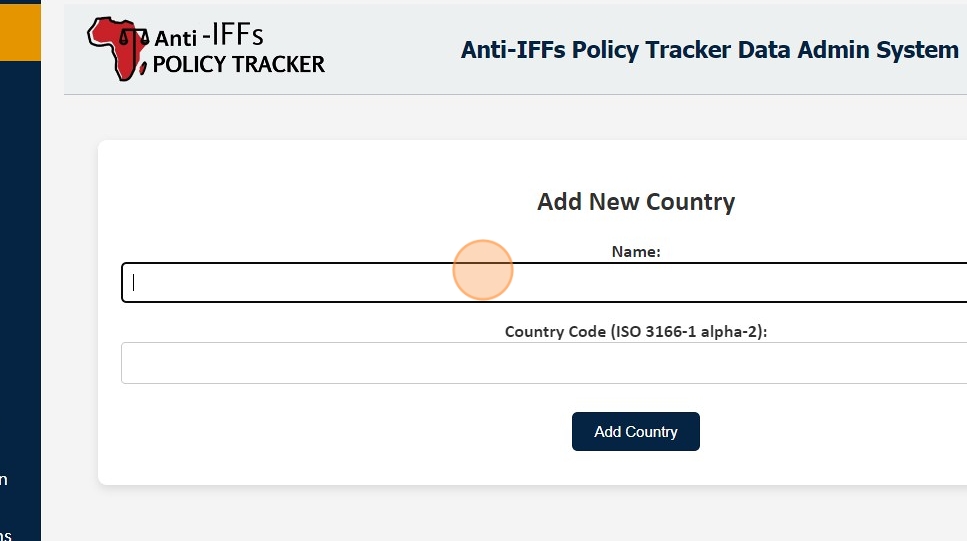
25. And then click 'Add Country' to save the new country.

26. To edit an existing country, go to 'Edit Countries' from the Menu

27. Select the country to edit and make the necessary changes, then click 'Update Country' to save the changes.
28. To delete a country, go to 'Delete Countries' from the Menu
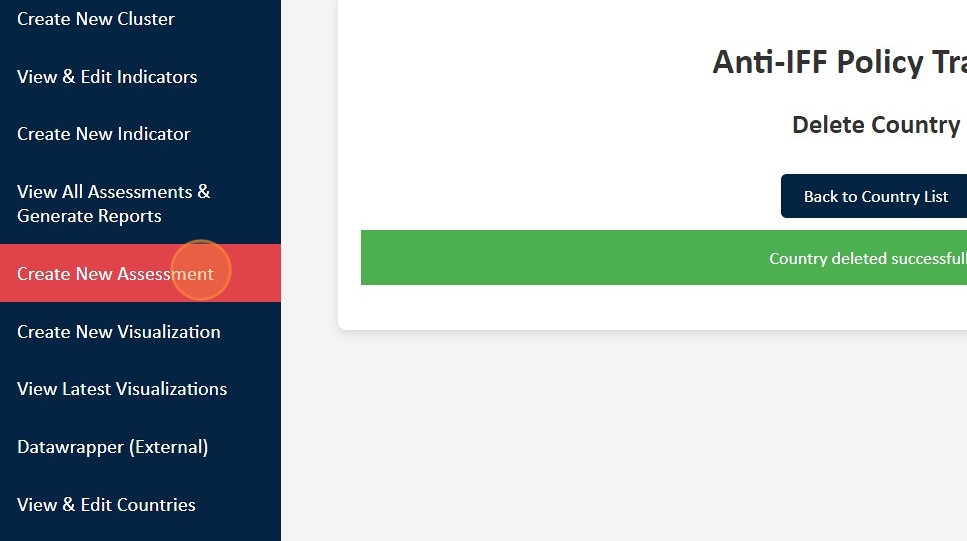
29. Scroll to the country you want to delete, and click 'Delete Country.'
30. Confirm the deletion by clicking 'Yes, Delete Country.'
Create, Edit & Delete Assessments
31. To create a new assessment, click 'Create New Assessment' from the menu.
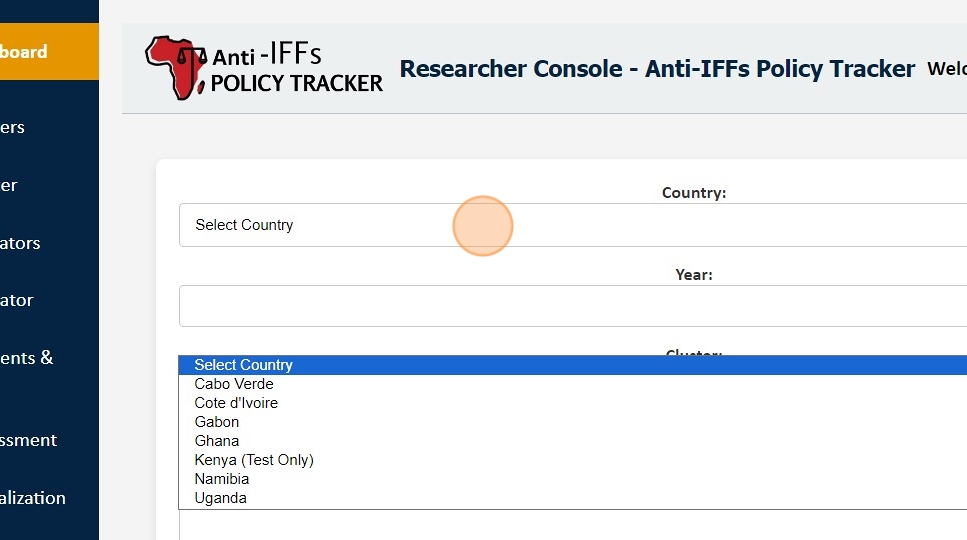
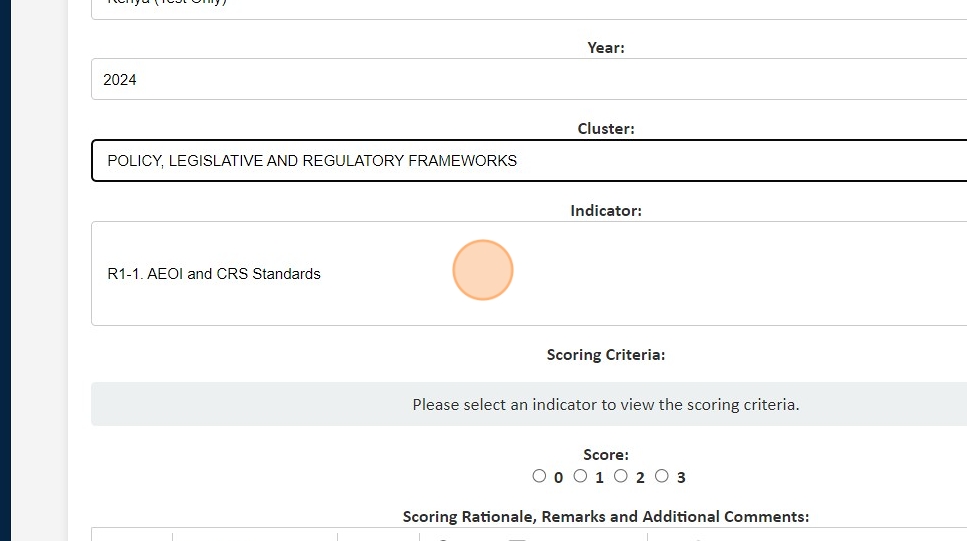
32. Select the country and year for the assessment.
33. Select the cluster associated with the assessment.
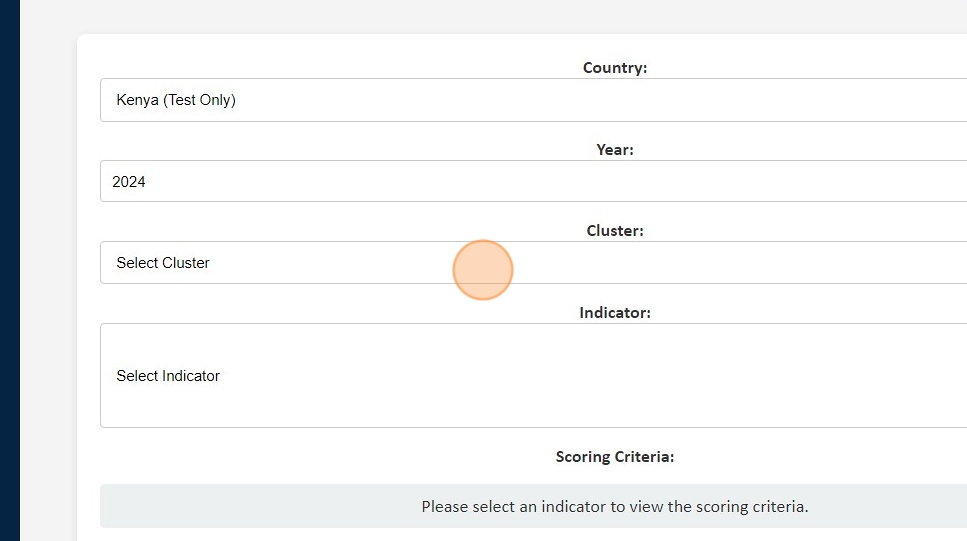
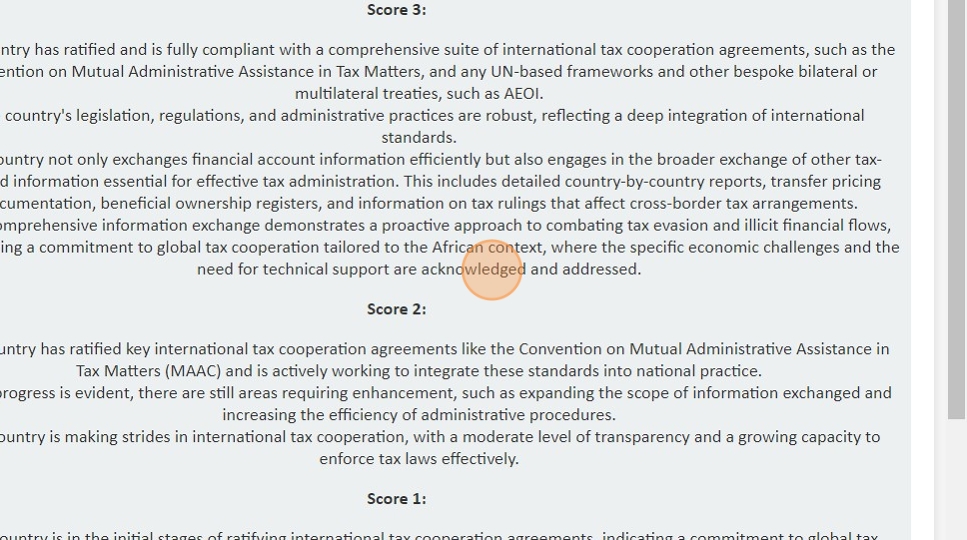
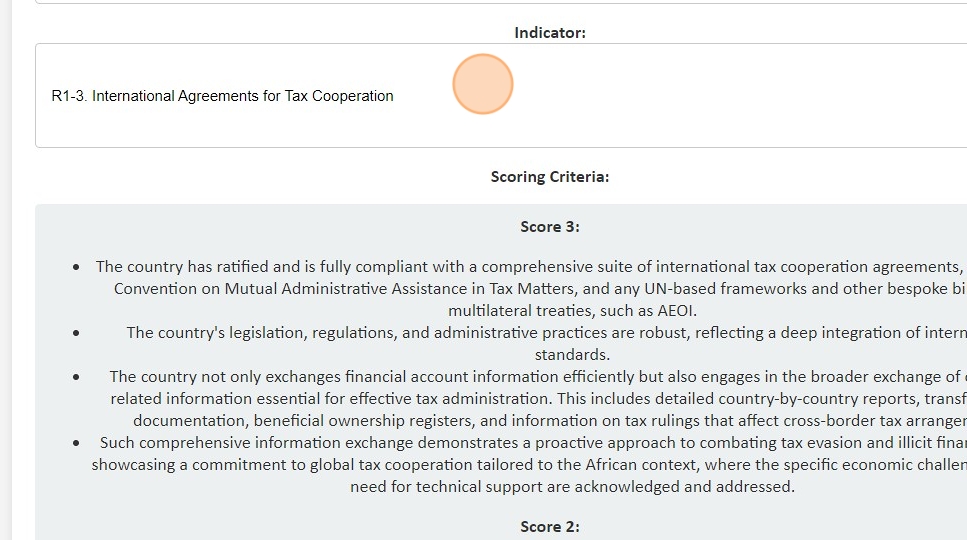
34. Select the indicator associated with the assessment, and wait for the scoring criteria to load.
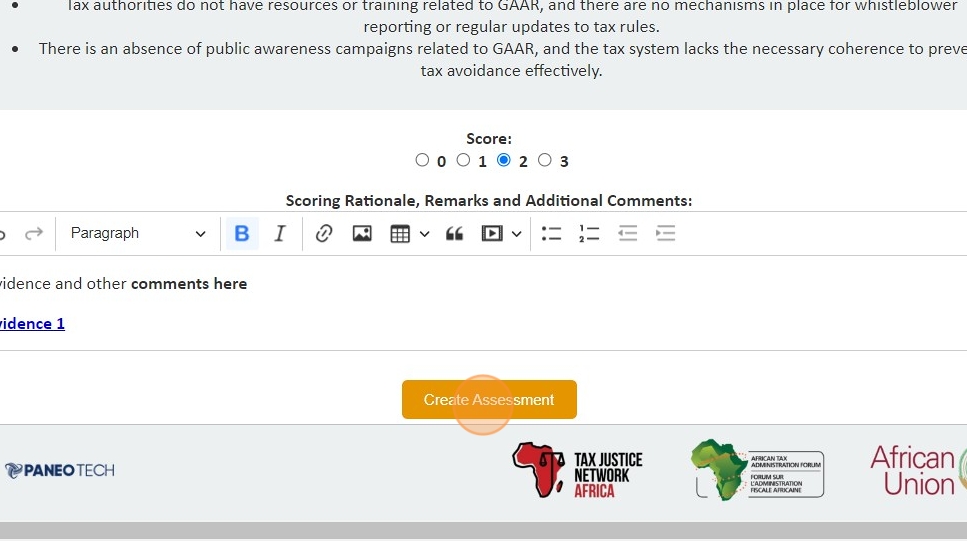
35. Select the score for the indicator, and enter the scoring rationale, evidence, comments, or any additional details related to the assessment.
36. After entering all the details, click 'Create Assessment' to save and finalize the assessment.
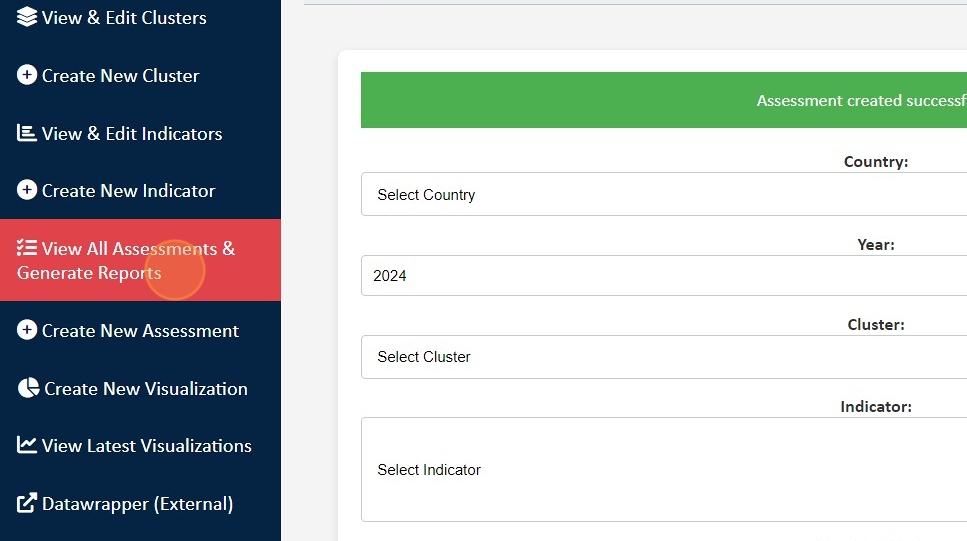
37. To view assessments, click 'View All Assessments & Generate Reports.'
38. Use the selection options to specify the country and cluster to load all assessments for that country/Cluster.
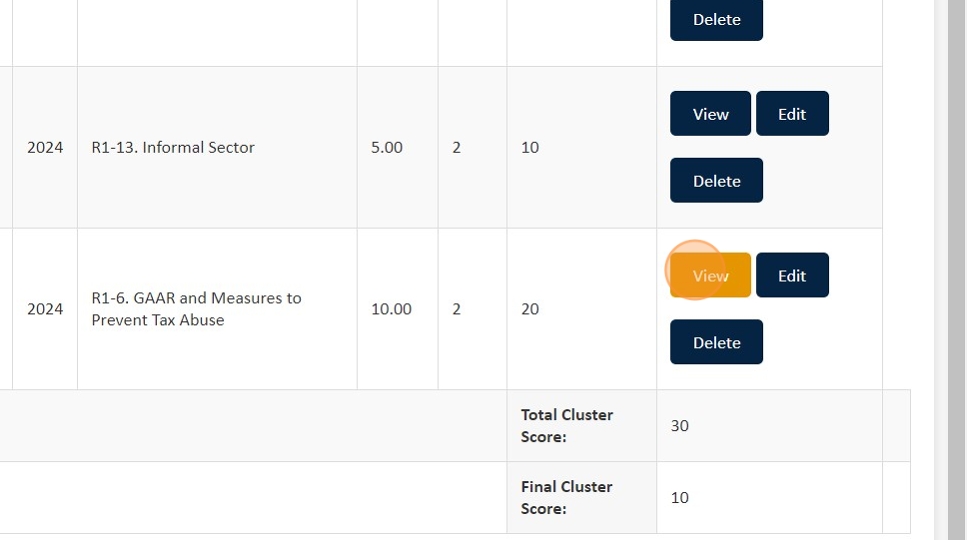
39. Click the dropdown to select the assessment you want to view or edit.

40. To edit an assessment, click 'Edit Assessment' from the View Assessment page or select 'Edit' from the 'View Assessment & Generate Reports' page.
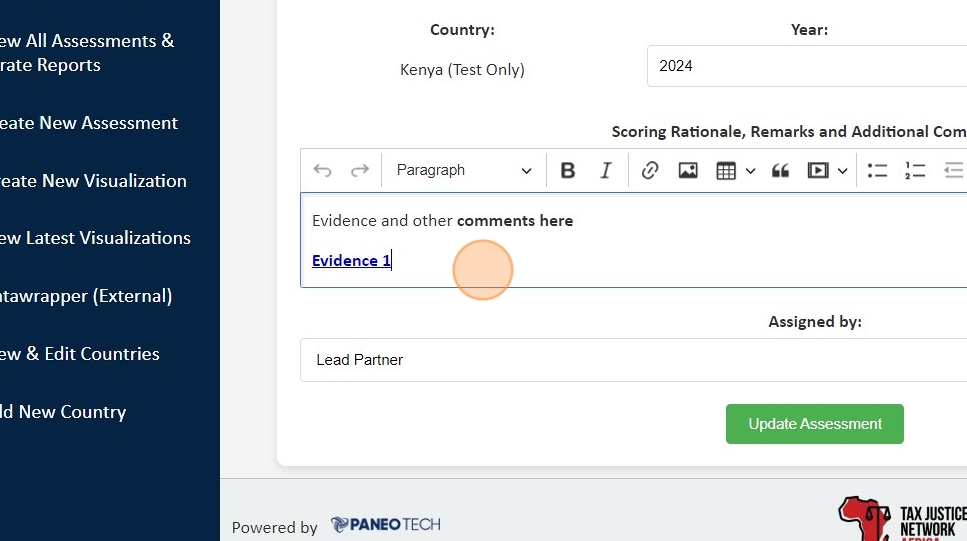
41. Then, input the necessary edits and click 'Update Assessment' to save the changes.

42. To delete an assessment, go back to the 'View All Assessments & Generate Reports' page, select the country and cluster, scroll to the assessment you want to delete, and click 'Delete.'
43. To confirm the deletion, click 'Yes, Delete Assessment.'

44. To generate reports and export data, click 'View All Assessments & Generate Reports' from the menu.
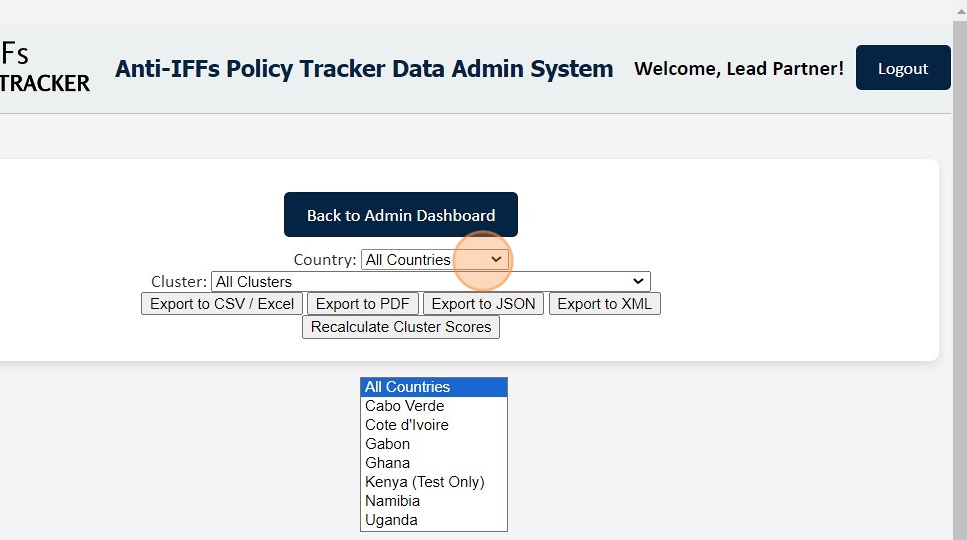
45. Select the country, cluster, and indicator for which you want to generate a report. Choose the desired format ('Export to CSV,' 'Export to Excel,' 'Export to PDF,' 'Export to JSON,' 'Export to XML'). The file with the exported data will then be downloaded to your computer.

Powered by
